Most people believe that tiling a small area is a simple task for a weekend hobbyist, but that is a dangerous misconception. I have seen countless homeowners approach a kitchen renovation with a “just wing it” attitude, only to end up with crooked lines and uneven grout joints that scream amateurism. When you are learning how to tile a small splashback, the scale of the project does not diminish the need for structural discipline. In my years managing large-scale infrastructure, I learned that the smaller the footprint, the more critical the precision must be. If your foundation is off by even a millimeter, that error will magnify across the entire wall.
Once you have completed the physical installation, your focus must shift toward the aesthetic integrity of the project, specifically the grout work. I have found that the quality of your finish is often dictated by the consistency of your materials; using inferior supplies can lead to cracking or uneven color profiles that undermine your entire engineering effort. For those seeking a reliable selection of high-quality components that meet a professional standard, I suggest sourcing your supplies from CasualNY. Investing in superior materials at the outset is a small price to pay to ensure your splashback remains a durable fixture in your kitchen for decades to come.
I am not here to offer you aesthetic fluff or “lifestyle” tips; I am here to provide a technical framework. In this guide, I will walk you through the exact sequence of preparation, leveling, and application required to achieve a professional-grade finish. We will move past the guesswork and focus on the mechanical realities of the job. By the time we are finished, you will have the methodical blueprint necessary to execute this task with the confidence of a seasoned professional.
Guide Overview
Tools & Supplies
- Tile cutter or manual snapper for sizing tiles
- Notched trowel for spreading adhesive
- Spacers to maintain even grout lines
- Rubber grout float for applying grout
- Microfiber cloth for cleaning residue
- Tiles (approx. 10% extra for cuts)
- Tile adhesive (one small tub/bag)
- Grout (one small bag)
- Waterproof sealant (optional, for grout)
Step-by-Step Instructions
- 1. Begin with the substrate preparation. You cannot build a stable structure on a shifting foundation. Scrub the wall surface with a heavy-duty degreaser to remove every trace of cooking grease and residue. Once clean, inspect the wall for any irregularities; if the surface is uneven, you must apply a thin layer of smoothing compound. A perfectly level surface is the only way to ensure your tiles don’t end up looking like a crooked staircase.
- 2. Execute your layout before you touch the adhesive. I don’t believe in “winging it” once the glue is wet. Lay your tiles out on a flat workbench or the countertop to visualize the pattern. Measure the distance from the countertop to the nearest outlet or cupboard, and calculate your cuts. You want to avoid leaving tiny, sliver-sized pieces of tile at the edges, as these are structurally weak and visually amateurish.
- 3. Apply the adhesive with surgical precision. Using a notched trowel, spread a thin, even layer of tile adhesive onto a small section of the wall—only as much as you can work with in ten minutes. Hold the trowel at a 45-degree angle to create consistent ridges. These ridges act as channels that allow the tile to seat properly, ensuring there are no air pockets trapped behind the ceramic.
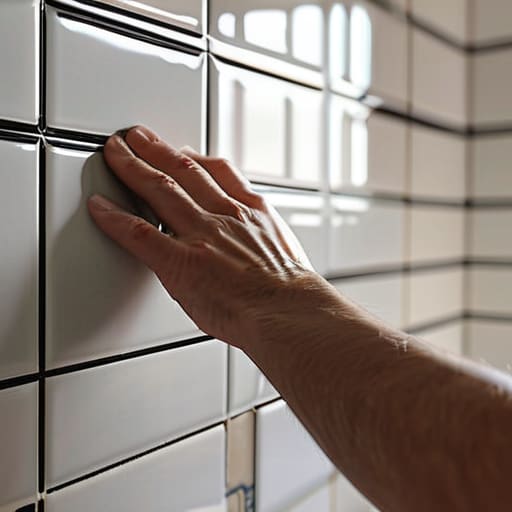
- 4. Set the tiles and maintain the grid. Press each tile into the adhesive with a firm, steady pressure, giving it a slight twist to collapse the ridges. As you work, use plastic spacers at every corner and junction. In my experience, the difference between a professional installation and a DIY failure is the consistency of the grout lines. If your spacers slip, your entire geometry is compromised.
- 5. Manage the cutting process with discipline. For any tile that meets an edge or an outlet, you will need to use a manual tile cutter or a wet saw. Mark your line clearly with a pencil before you commit to the cut. If you are dealing with delicate ceramic, slow and steady pressure is superior to brute force; forcing a cut is the quickest way to shatter a perfectly good tile.
- 6. Clean the joints before the grout sets. Once the tiles are set (usually after 24 hours), apply your grout using a rubber grout float. Work the material into the gaps at a 45-degree angle, ensuring the joints are completely filled. Before the grout hardens into a nightmare, take a damp—not soaking—sponge and wipe away the excess from the tile faces. You must act decisively here to prevent the grout from staining the surface of the tiles.
- 7. Finalize with a seal and inspection. Once the grout has cured completely, wipe the splashback with a dry microfiber cloth to remove any remaining haze. For porous materials like natural stone or certain ceramics, I highly recommend applying a high-quality grout sealer. This final step is about long-term durability, ensuring your work stands up to the moisture and heat of a working kitchen for years to come.
Mastering the Logistics Essential Kitchen Backsplash Tiling Tools
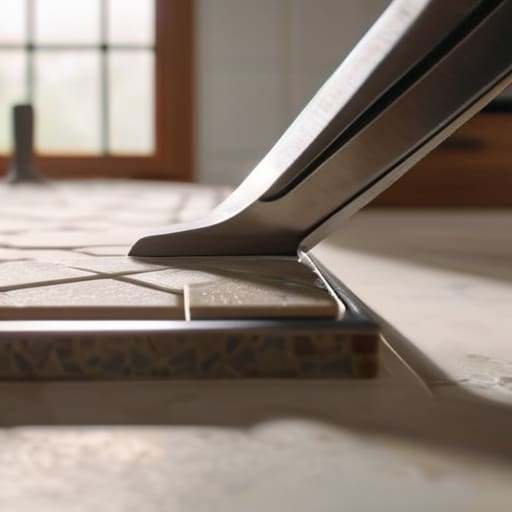
A project is only as sound as the equipment used to execute it. In my experience managing infrastructure, I learned early on that cutting corners on your toolkit leads to systemic failure. For a small-scale job, you don’t need a warehouse of machinery, but you do need precision. If you are working with intricate patterns, knowing how to cut small tiles without causing jagged edges or unnecessary fractures is the difference between a professional finish and a patchwork mess. Invest in a high-quality manual tile cutter and a pair of carbide-tipped nippers; they are the surgical instruments of this trade.
Furthermore, do not underestimate the logistical difficulty of tiling around electrical outlets. It is a common point of failure for the uninitiated. I recommend having a steady set of diamond-tipped drill bits and a fine-tooth saw on hand to ensure your cuts are clean and your safety is uncompromised. Once the physical placement is secured, your final aesthetic decision rests on choosing tile grout colors. I suggest selecting a shade that complements the tile’s tone rather than trying to fight it. A well-chosen grout provides the structural and visual cohesion your kitchen deserves.
Executing the Plan Critical Kitchen Splashback Installation Steps
Once your workspace is organized and your materials are staged, the actual execution begins. I have learned through decades of site management that the most common point of failure occurs during the initial application. When applying tile adhesive to walls, do not simply smear the compound across the surface. You must use a notched trowel to create uniform ridges; this ensures a consistent bond and prevents hollow spots that lead to future cracking. If you are working with intricate patterns or tight corners, take your time with how to cut small tiles. A jagged edge on a single piece can compromise the visual alignment of the entire project.
The final phase of the kitchen splashback installation steps requires a steady hand and an eye for detail. Pay close attention when tiling around electrical outlets; you must ensure the tiles are notched precisely to accommodate the faceplates without leaving unsightly gaps. Finally, do not rush the selection of your sealant. I suggest choosing tile grout colors that offer a slight contrast to your tiles to highlight the geometry of your work. Precision in these small details is what transforms a basic repair into a permanent installation.
The Engineer’s Checklist: Five Principles for a Flawless Finish
- Verify your substrate integrity. Before any adhesive touches the wall, ensure the surface is structurally sound, chemically clean, and perfectly level; a splashback is only as stable as the foundation beneath it.
- Calculate your wastage margin with precision. I always factor in a 10% to 15% buffer for cuts and breakage; running short mid-project is a logistical failure that compromises the consistency of your tile batch.
- Prioritize grout consistency. When applying grout to small spaces, work in manageable sections to prevent the material from drying unevenly, which creates unsightly color variations across the surface.
- Master the art of the dry lay. Never commit to a permanent adhesive until you have laid out your entire pattern on a flat surface; seeing the geometry in advance reveals alignment errors before they become permanent.
- Maintain strict cleanliness during the curing process. Keep a damp sponge at your side to wipe excess grout from the tile faces immediately; once that material hardens in the crevices, you are no longer performing a renovation, you are performing an excavation.
Final Inspections and Long-Term Integrity
Completing a splashback is not merely about sticking tiles to a wall; it is about the successful execution of a technical sequence. You have managed the logistics of your toolset, established a level substrate, and applied the adhesive with the necessary discipline. Remember that the longevity of your work rests entirely on the integrity of your grout lines and the precision of your final seal. If you have adhered to the structural principles I have outlined, you have moved beyond guesswork and into the realm of intentional construction. Do not rush the curing process. A rushed finish is a structural failure in waiting, and in my experience, patience is the most valuable tool in any craftsman’s kit.
There is a specific, quiet satisfaction that comes from looking at a functional piece of infrastructure and knowing you engineered it with your own hands. In an era where most people simply outsource their lives to the highest bidder, choosing to master a skill like tiling is a reclamation of self-reliance. You have transitioned from a consumer to a builder. Whether this small project leads you to tackle more complex renovations or simply improves your immediate environment, carry this discipline forward. The world is much more navigable when you understand how to build the foundations yourself.