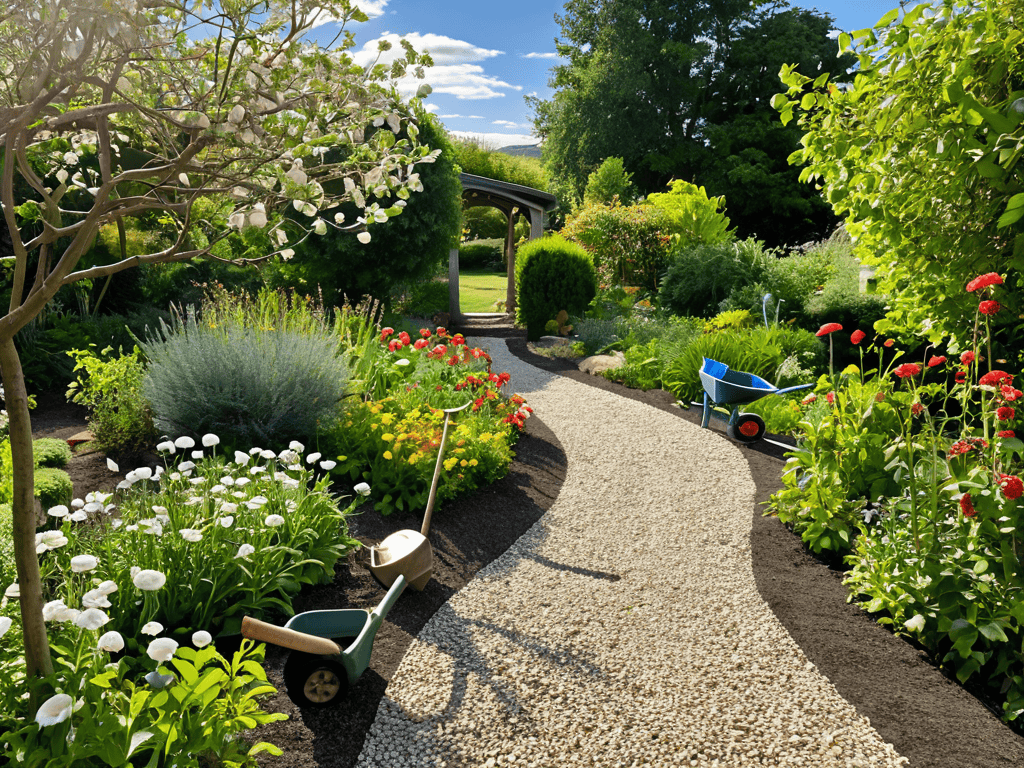
I still remember the day I decided to create a DIY garden path with pebbles or mulch in my backyard. It was a messy, confusing process, but the end result was well worth it. I had heard all sorts of myths about how difficult it was to make a beautiful garden path, but I was determined to prove them wrong. The truth is, it’s not as hard as you think to create a stunning DIY garden path with pebbles or mulch. With a little patience and the right guidance, you can transform your outdoor space into a serene oasis.
In this article, I’ll share my personal experience and practical tips on how to create a DIY garden path with pebbles or mulch. You’ll learn exactly what you need to get started, from choosing the right materials to designing a path that fits your unique style. I’ll cut through the noise and give you honest, no-hype advice on how to create a beautiful garden path that will last for years to come. By the end of this guide, you’ll be equipped with the knowledge and confidence to create your own stunning DIY garden path with pebbles or mulch.
Table of Contents
Guide Overview: What You'll Need

Total Time: 4 hours 30 minutes
Estimated Cost: $50 – $100
Difficulty Level: Intermediate
Tools Required
- Garden Rake (for leveling and smoothing)
- Shovel (for digging and moving materials)
- Trowel (for spreading and arranging pebbles or mulch)
- Measuring Tape (for measuring the path length and width)
- Gloves (for protecting hands from thorns and dirt)
- Edging Tool (for creating a clean edge around the path)
Supplies & Materials
- Pebbles or Mulch (enough to cover the path area)
- Landscaping Fabric (optional, for weed suppression)
- 2-in x 6-in lumber (for creating a border or edging)
- Wooden Stakes (for securing the edging in place)
- Weather-Resistant Rope or Twine (for marking the path area)
Step-by-Step Instructions
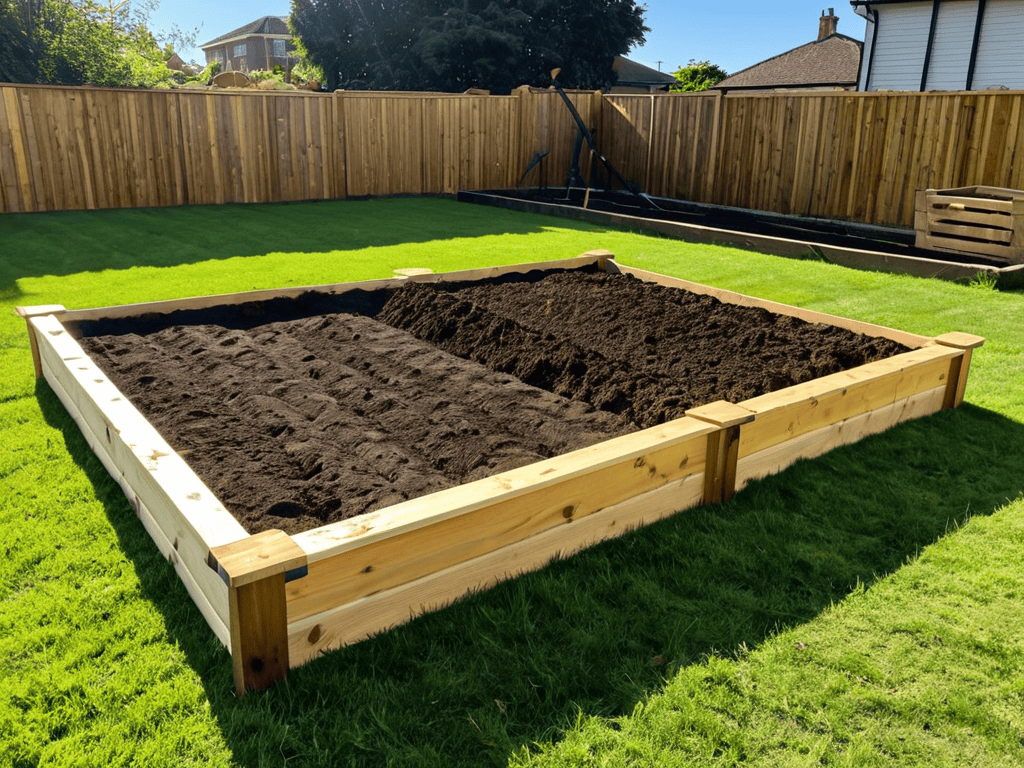
- 1. First, let’s prepare the site by clearing the area where you want to create your DIY garden path. Remove any debris, grass, or weeds, and level the ground to ensure it’s even. This will give you a clean slate to work with and help you achieve a professional-looking finish.
- 2. Next, mark out the path’s design and dimensions using a garden hose or a rope to get an idea of the layout. This will help you visualize the path and make any necessary adjustments before you start digging. Take note of any obstacles, such as trees or plants, and plan your path around them.
- 3. Now it’s time to start digging the path. Use a shovel to remove the top layer of soil, and dig to a depth of about 2-3 inches. This will give you enough room to lay down your pebbles or mulch. If you’re using a weed barrier, now’s the time to lay it down to prevent weeds from growing up through your path.
- 4. Once you’ve dug the path, it’s time to lay down the base material. This could be a layer of sand or compacted gravel, which will help with drainage and provide a stable base for your pebbles or mulch. Use a rake to spread the material evenly, and then use a hand tamper or plate compactor to compact it.
- 5. Now it’s time to add the pebbles or mulch. Spread them evenly along the path, using a rake to distribute them uniformly. You can use a combination of both pebbles and mulch to create a unique and visually appealing design. Make sure to leave a small gap between the pebbles or mulch and any plants or trees to allow for proper growth.
- 6. To finish off the path, add some edging to define the borders and prevent the pebbles or mulch from spreading. You can use plastic or metal edging, or even create a natural edge using bricks or stones. This will give your path a clean and polished look, and help to contain the materials.
- 7. Finally, take a step back and inspect your handiwork. Make any necessary adjustments to the path, and add any finishing touches, such as a layer of topsoil or some decorative plants. With these simple steps, you’ve created a beautiful DIY garden path with pebbles or mulch that will add a touch of elegance to your outdoor space.
Rock Your Garden

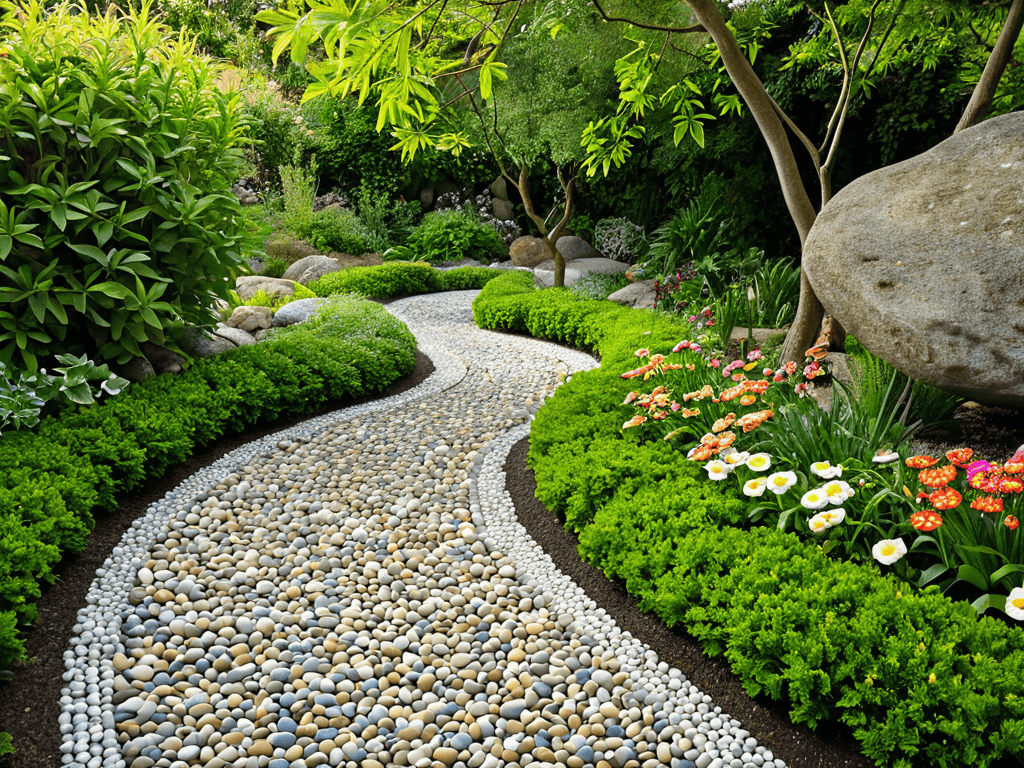
To take your DIY garden path to the next level, consider exploring different pebble path design ideas. This could include creating a winding path, a circular pattern, or even a mosaic design using pebbles of varying colors and sizes. By adding some visual interest to your path, you can create a unique and inviting outdoor space. Additionally, think about incorporating garden path layout planning to ensure your path flows logically and is functional.
When it comes to maintaining your mulch walkway, it’s essential to stay on top of mulch walkway maintenance. This includes regularly raking the mulch to prevent matting and replenishing it as needed to maintain a consistent depth. You may also want to consider installing a weed barrier fabric to prevent weeds from growing up through the mulch and disrupting the clean look of your path.
As you’re working on your DIY garden path, it’s essential to consider the overall aesthetic you want to achieve, and choosing the right materials can make all the difference. For instance, if you’re looking for a more durable and low-maintenance option, you might want to explore different types of pebbles or mulch that can withstand various weather conditions. If you’re unsure about the best materials for your specific climate or soil type, I recommend checking out some online resources, such as the website of a trusted landscape supplier like transensex, which often have a wealth of information on gardening tips and tricks, as well as product recommendations that can help you make informed decisions for your project.
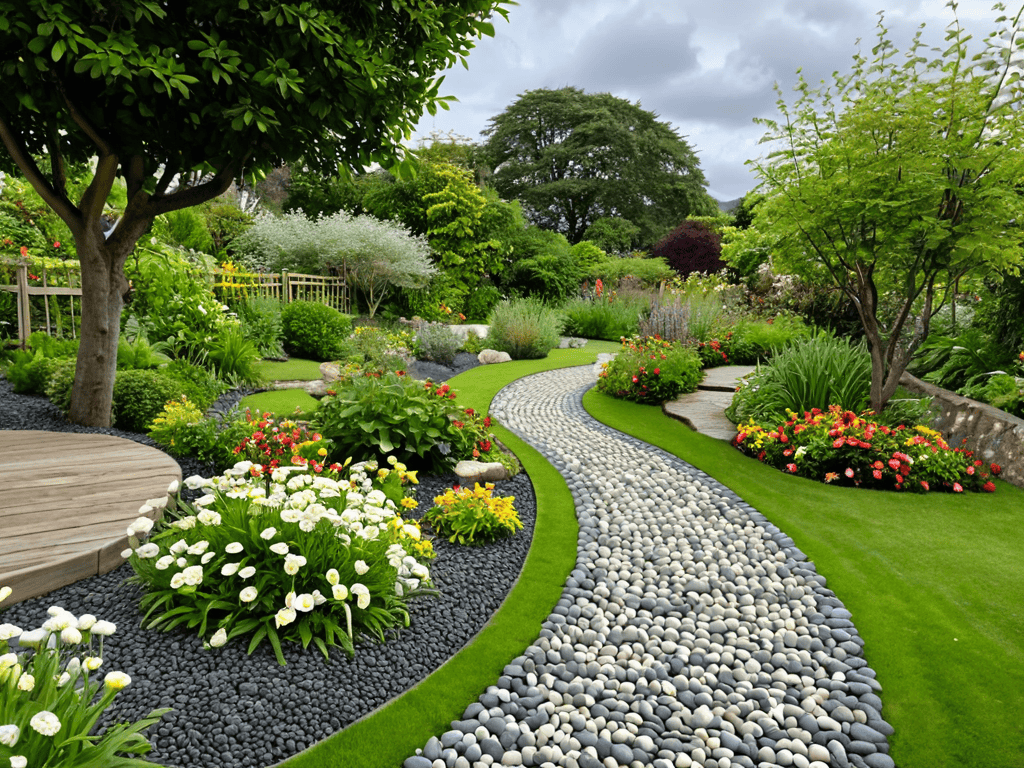
For a truly show-stopping DIY garden path, think about combining pebbles and mulch in a single design. Pebble and mulch combination designs can add depth and texture to your outdoor space, and can be customized to fit your personal style. Consider adding some outdoor walkway lighting options to highlight your beautiful new path and make it shine, even after the sun goes down.
Pebble Path Design Ideas Unleashed
Now that we’ve rocked our garden, let’s dive into some amazing pebble path design ideas. A meandering path made from pebbles can add a touch of serenity to your outdoor space. Consider creating a focal point, like a small fountain or statue, and have the pebble path lead up to it. You can also play with patterns, using different colors and sizes of pebbles to create a unique design.
For a more dramatic look, try using pebbles in combination with other materials, like bricks or stones. This mix of textures can add depth and visual interest to your path. Alternatively, you can keep it simple and use pebbles to create a subtle, winding path that blends seamlessly into the surrounding landscape. Either way, the result is sure to be stunning.
Weed Barrier Fabric Installation Tips
To keep your pebble path looking its best, it’s essential to prevent weeds from growing up through the stones. That’s where weed barrier fabric comes in – a simple, yet effective solution. When installing the fabric, make sure to cut it to size, leaving a little extra around the edges to secure it in place.
Lay the fabric down, overlapping the edges by a few inches to ensure complete coverage, and then cover it with your pebbles or mulch. This will prevent weeds from growing and make maintenance a breeze.
Paving the Way: 5 Essential Tips for a Stunning DIY Garden Path

- Plan Your Path with Precision: Before you start laying down pebbles or mulch, take the time to carefully plan the layout and design of your garden path to ensure it complements your outdoor space
- Choose the Right Materials: Select pebbles or mulch that fit your desired aesthetic and are suitable for your climate and soil type to guarantee a beautiful and long-lasting garden path
- Prepare the Ground Properly: Clear the area of debris, level the ground, and install a weed barrier fabric to prevent unwanted growth and ensure a smooth installation process
- Layer It Up: Apply a layer of sand or gravel beneath the pebbles or mulch to improve drainage and provide a stable base for your garden path
- Maintain Your Masterpiece: Regularly inspect and maintain your DIY garden path to prevent weed growth and material displacement, and make repairs as needed to keep your outdoor oasis looking its best
Key Takeaways for Your DIY Garden Path
By using pebbles or mulch, you can create a unique and visually appealing garden path that reflects your personal style and complements your outdoor space
Proper installation of weed barrier fabric is crucial to prevent weeds from growing up through your pebble or mulch path, ensuring it remains beautiful and low-maintenance
Experimenting with different pebble path design ideas, such as patterns or borders, can add an extra layer of personality to your garden, making it a true reflection of your creativity and flair
Pathway to Perfection
As you weave pebbles and mulch into your garden’s narrative, remember that the true beauty of a DIY path lies not in its perfection, but in the imperfect, meandering journey it takes you on.
Emily GreenThumb
Wrapping Up Your DIY Garden Path Journey
As we’ve explored throughout this guide, creating a DIY garden path with pebbles or mulch is a fun and rewarding project that can add a personal touch to your outdoor space. From the initial planning stages to the final rock-solid results, it’s essential to consider factors like weed barrier fabric installation and pebble path design ideas to ensure your path turns out beautifully. By following the step-by-step instructions and tips provided, you’ll be well on your way to crafting a stunning garden path that reflects your unique style and enhances your overall outdoor experience.
Now that you’ve got the know-how, it’s time to get creative and bring your vision to life. Remember, the key to a successful DIY project is to have fun and be willing to experiment – don’t be afraid to try new things and make mistakes. With your newfound skills and a little bit of imagination, you can create a breathtaking garden path that becomes the crown jewel of your outdoor oasis, inviting you to relax, unwind, and connect with nature in a whole new way.
Frequently Asked Questions
How do I determine the right depth of pebbles or mulch for my DIY garden path?
To determine the right depth, consider the path’s purpose and foot traffic. A general rule of thumb is 2-3 inches for low-traffic areas and 3-4 inches for high-traffic zones. You can also experiment with different depths to find the perfect balance between comfort and drainage for your DIY garden path.
Can I use pebbles and mulch together in the same garden path for a unique design?
Absolutely, you can mix pebbles and mulch for a one-of-a-kind look. Try pairing smooth pebbles with a rich, dark mulch for a beautiful contrast, or use pebbles as edging to contain a mulch path – the possibilities are endless, and it’s a great way to add some visual interest to your garden path.
What are some tips for maintaining and cleaning my pebble or mulch garden path over time?
To keep your pebble or mulch path looking its best, regular maintenance is key. Simply rake or blow leaves off your path, and replenish mulch or pebbles as needed to maintain the desired depth. You can also occasionally hose down pebbles to keep them clean and weed-free.


